
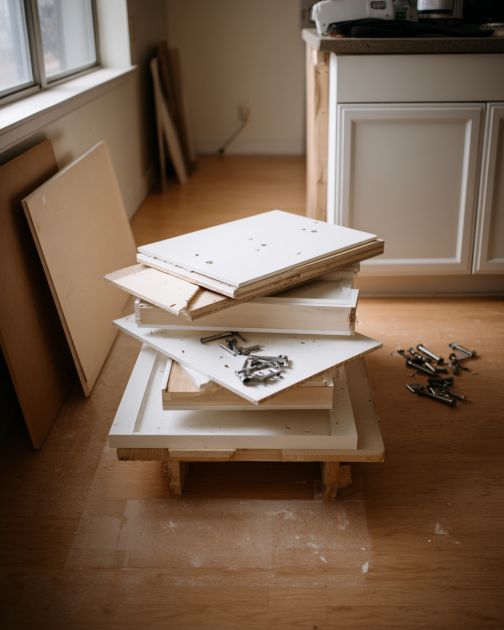
In a world where upcycling and sustainability have become more important than ever, finding new uses for old or damaged items is both environmentally friendly and creatively fulfilling. This DIY project transforms dented or unwanted cabinet doors into a chic and unique headboard, giving these discarded kitchen parts a new lease on life. Not only does this project allow you to save money, but it also adds a personalized touch to your bedroom decor. A salvaged cabinet door headboard is a testament to the beauty of repurposing and the potential that lies in what others might see as trash.
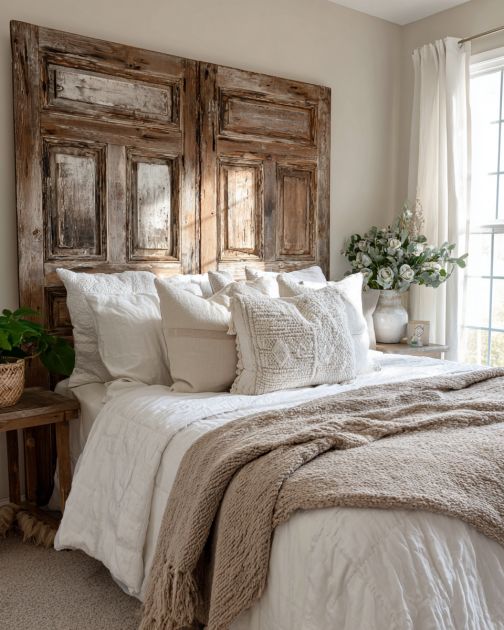
This salvaged cabinet door headboard adds a rustic and vintage charm to any bedroom. Pair it with soft linens and neutral tones to enhance its natural wood texture, or give it a modern twist by painting the doors in bold colors or geometric patterns. Complement the look with bedside tables in a similar wood finish, and add cozy lighting with some bedside lamps. Consider an accent wall in a contrasting color to make your headboard stand out as the focal point of the room.
Salvaged Cabinet Door Headboard
Materials
4-6 salvaged cabinet doors (dimensions depending on bed size)
Sandpaper (medium and fine grit)
Wood screws (1.5 inches)
Wood glue
Paint or wood stain (optional)
Paintbrushes or rollers (if painting/staining)
Screwdriver or drill
Wall mounting brackets
Measuring tape
Level
Directions
Start by selecting cabinet doors that are similar in size and style. Sand down any rough edges or existing finishes using medium-grit sandpaper, followed by fine-grit for a smooth finish.
Decide on the layout of the doors for your headboard. You can arrange them in a straight line or stagger them for a more eclectic look.
If you choose to paint or stain the cabinet doors, now is the time to do so. Apply your chosen finish evenly with a brush or roller and allow it to dry completely.
Once dry, arrange the doors on the floor in the desired configuration. Use wood glue between the connecting edges for added stability.
Secure the doors together by screwing them in place using the wood screws. Ensure that screws are placed strategically so they are not visible from the front.
Measure the width of your bed to ensure the headboard is appropriately centered when mounted.
Attach the wall mounting brackets to the back of the headboard, ensuring they are evenly spaced and level.
With the help of a friend, lift the headboard and position it against the wall where your bed will be placed. Use a level to make sure it is straight.
Secure the headboard to the wall using the mounting brackets.
Position your bed against the newly mounted headboard and style your bedding to complement your new piece.
Variations & Tips
For a more polished look, consider adding a frame around the edges of the headboard using trim or molding. Alternatively, for a bohemian feel, attach fabric or wallpaper panels to the cabinet doors before mounting them. If you’re working with mismatched cabinet doors, embrace the eclectic style by using different paint colors for each door, creating a patchwork effect. You can also add hooks or small shelves to the headboard for additional functionality and storage.